Materials From Around the Home

In the art classroom, there were many materials for all of you to choose from. At home, that may not be the case. Still, since you have assignments, what can you do to add dimension to your work, experiment with different techniques, and build your knowledge of handling materials? Explore!

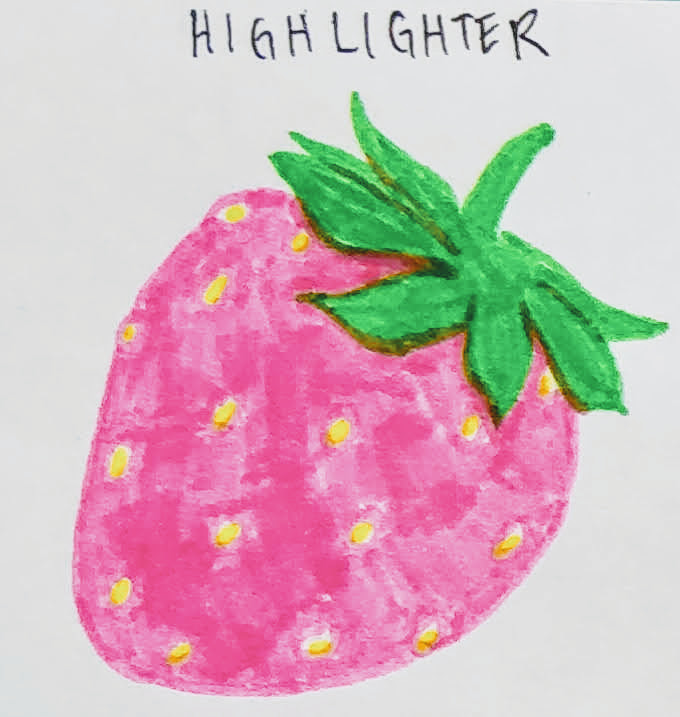
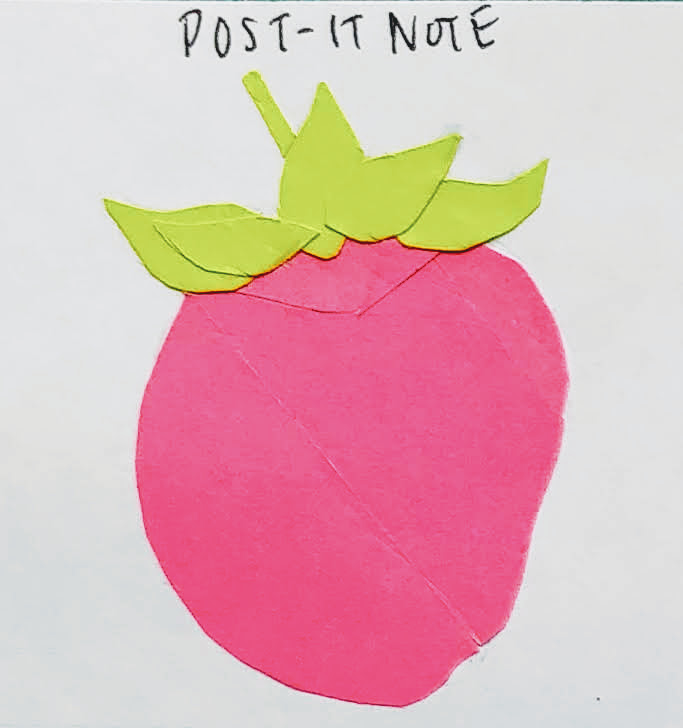
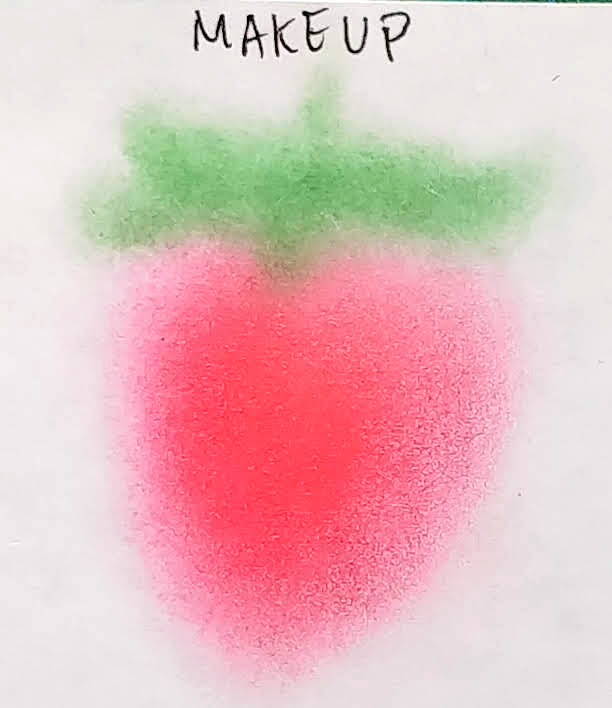
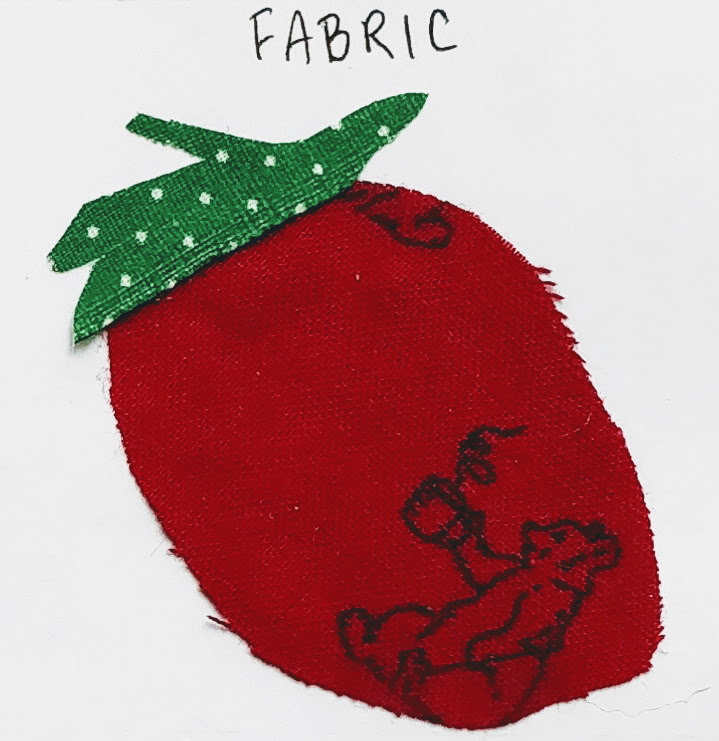
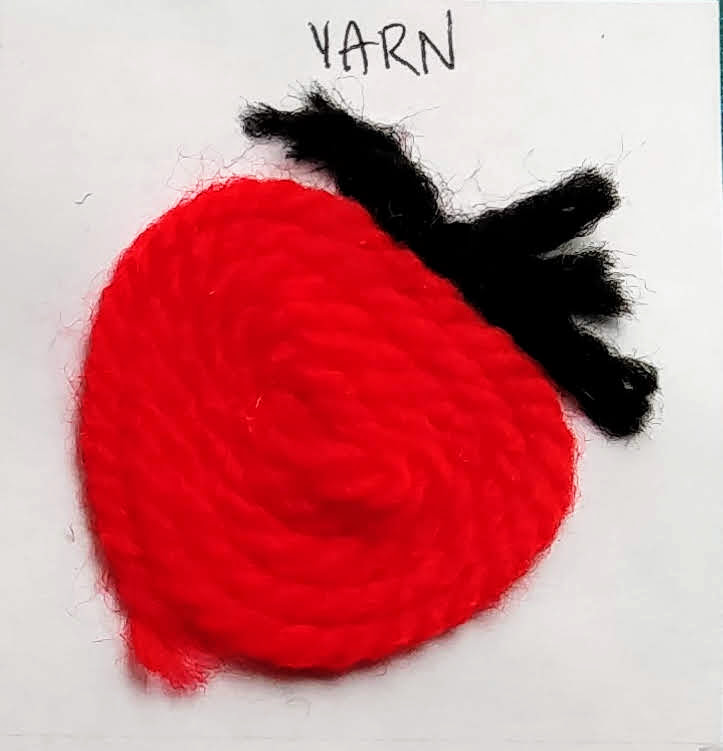
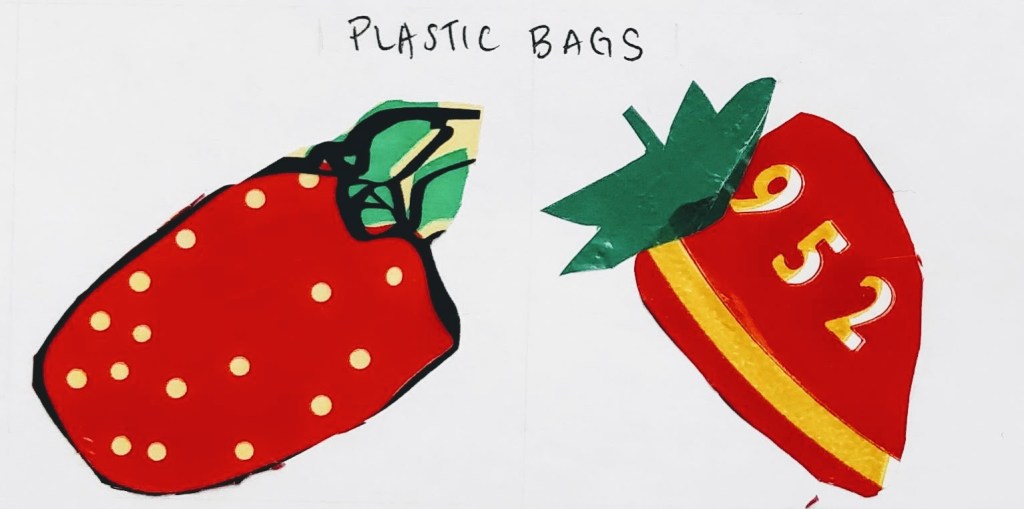
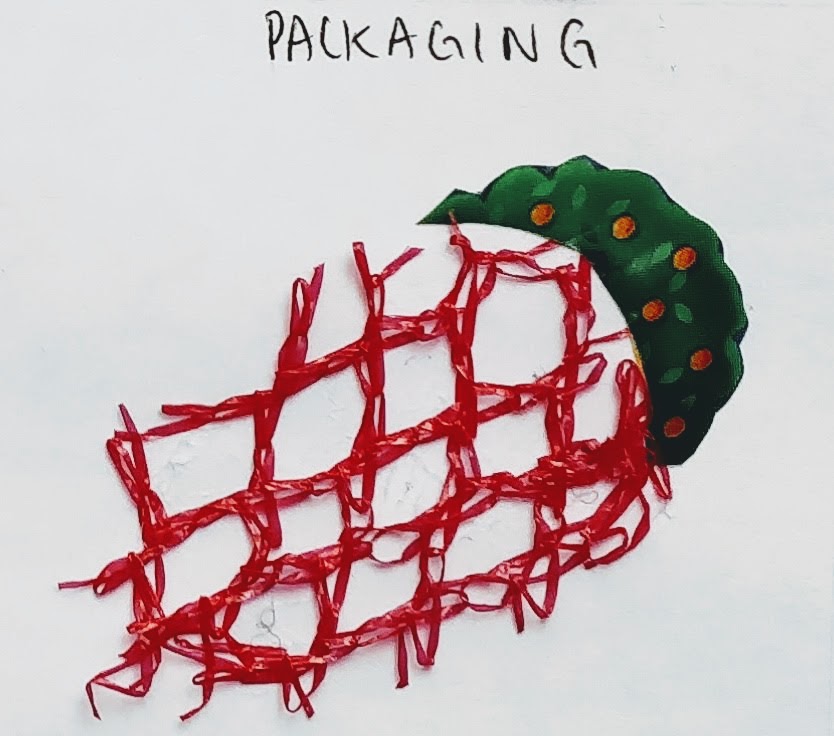
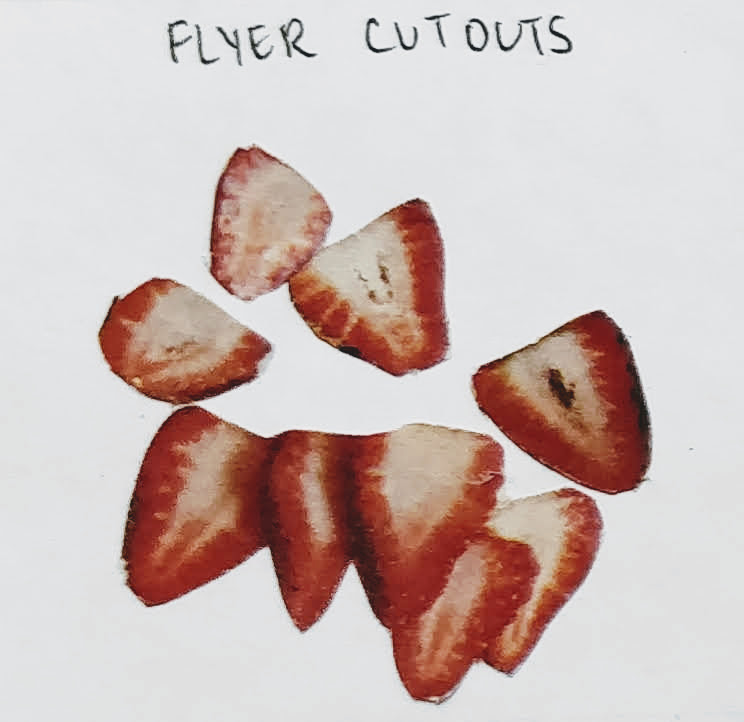
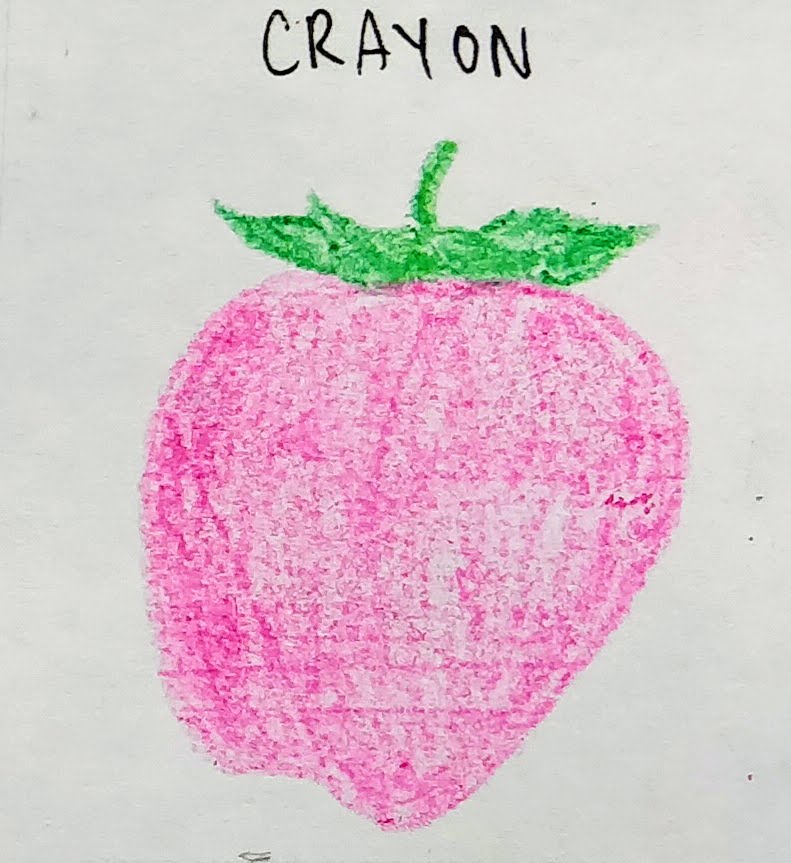
Look around your home to see what you can find to help you bring your ideas to life. There are so many things around you that can be reused and recycled. And then there are also things that you may not think to use for your artwork in the first place! I have included pictures below of some of my experiments with materials. Since I’m working on another zine about strawberries, the fruit was my subject. These experiments included:

  • Highlighters
  • Post-It Notes
  • Makeup – specifically eyeshadow
  • Fabric
  • Yarn
  • Flyer Cutouts
  • Plastic Bags
  • Packaging
  • Crayons

I had a lot of fun hunting in my own home, looking at everything around me to imagine how I could put it to use. Whenever I found something that suited my needs, it felt like a triumph! For example, I was looking through the plastic grocery bags we have at home and found one with a strawberry on it! Remember though, your images do not have to be perfect or exact. Look at my pictures – can you tell they are strawberries? For the most part, yes! Even with different materials, the subject matter is fairly clear.

Take a moment to look around your bedroom, kitchen, bathroom, or anywhere else to see what you might be able to use!

How can I document my work at home?

Now that you can’t hand in your work in person, a main way to hand assignments in will be through pictures that you upload. Taking the best pictures you can while at home is important so that all the effort and details of your zine are visible and clear to whoever is viewing it. Below are some tips on how to document pictures clearly and easily.

In case the pictures cannot be viewed, here are the written instructions:

  • Find a space with lots of natural light.
  • Place your work on a flat surface by the window. If your work won’t stay flat, try using a piece of tape or a paper clip to keep the pages together.
  • Use something dark and flat to put under your work so that your camera will focus easily. If your table or surface is already dark, you do not need to do this!
  • If your camera or phone has a Grid function, use it to make sure your picture is aligned. Some cameras also have a Level, which you can try as well!
  • Crop and edit your photo as needed. Cut out the background, make your picture a little brighter or the colours a little more vibrant. Play around and see what enhances your work best so that it is presented true to the actual work.

Big thank you to Bryan and Candice for helping me build these instructions!

Ms. Chan’s Zine #1: How to Grow Sage

I have never grown a food plant before and so this assignment is helping me do, and create, new things alongside all of you. Being able to grow your own food not only involves responsibility, but also independence. By growing your own food plant, that could possibly be one less herb, vegetable, or fruit, that you will not need to go to the store to buy!

For my first plant, I chose sage. Sage is an aromatic herb that smells amazing when you add it to a pan of oil. It adds amazing flavour to dishes as well. I chose sage because it reminds me of when I tried to cook gnocchi with my cousin.

Some techniques and materials that I used in this sample are: nail polish, newspaper, Sharpie markers, paper bags, and thread. I found all of these things in my home.

Try and look around your own homes for things that you can use to create your zines!

Design a site like this with WordPress.com
Get started